Table of Contents
Introduction
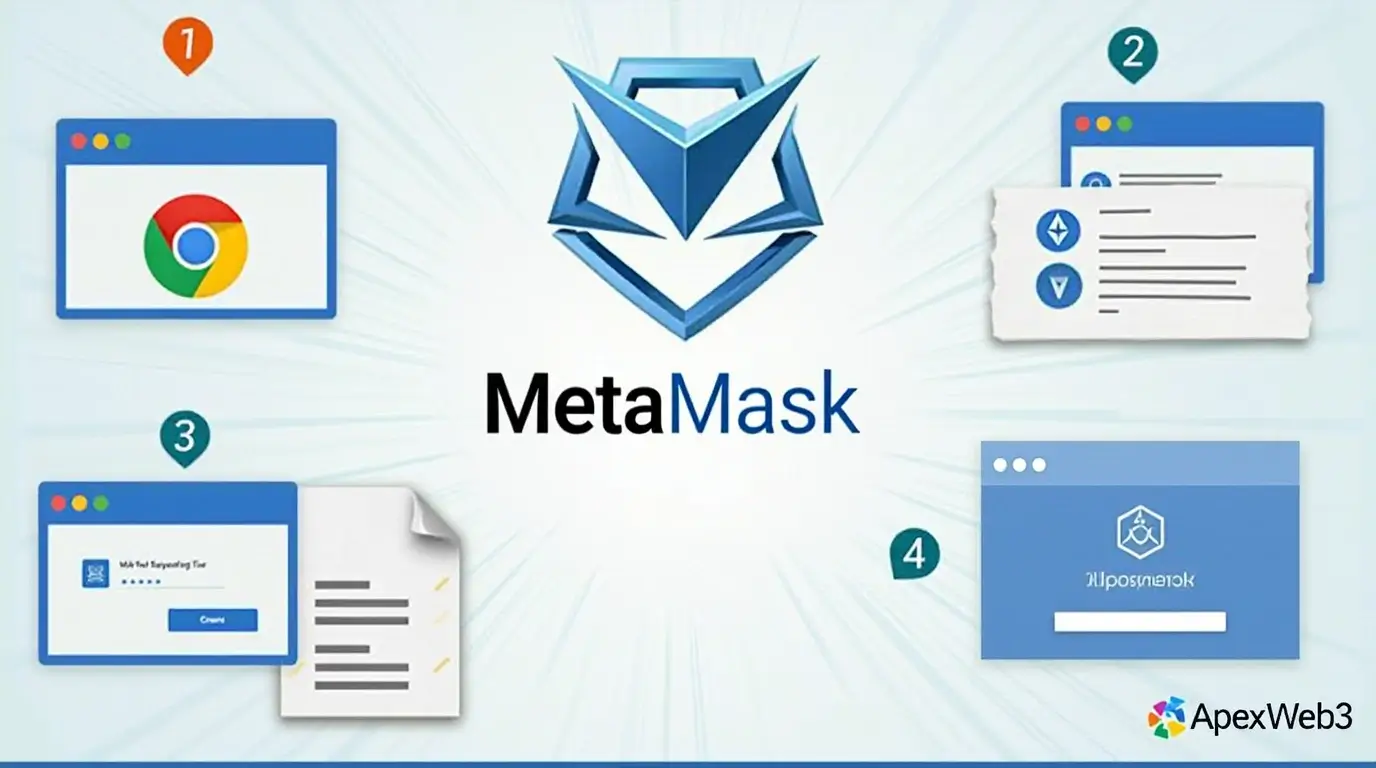
MetaMask has become an essential tool for anyone navigating the world of decentralized finance (DeFi), NFTs, and blockchain-based applications. As a browser extension, MetaMask allows users to interact with Ethereum-based platforms directly from their Chrome browser. If you’re new to MetaMask or looking to optimize your experience, this comprehensive guide will walk you through everything you need to know about installing, setting up, and using the MetaMask Extension Chrome Guide.
Why Use MetaMask on Chrome?
MetaMask is one of the most popular cryptocurrency wallets, and its Chrome extension makes it incredibly convenient to manage your digital assets. Whether you’re trading tokens, participating in DeFi protocols, or exploring NFT marketplaces, MetaMask provides a secure and user-friendly interface. By integrating it with Chrome, you can seamlessly interact with Ethereum-based dApps without leaving your browser.
Step 1: Download and Install the MetaMask Extension
Visit the Official MetaMask Website:
Go to metamask.io to ensure you’re downloading the official extension. Avoid third-party sources to prevent phishing scams.
Add to Chrome:
Click the “Download” button and select “Install MetaMask for Chrome.” This will redirect you to the Chrome Web Store.
Add Extension:
Click “Add to Chrome” and confirm the installation. The MetaMask icon will appear in your browser’s toolbar.
Step 2: Set Up Your MetaMask Wallet
Create a New Wallet:
Open the MetaMask extension and click “Get Started.” Choose “Create a Wallet” and follow the prompts to set up a new account.
Secure Your Seed Phrase:
MetaMask will generate a 12-word seed phrase. Make sure to jot this down and keep it in a secure location. This phrase is essential for restoring your wallet in case you ever lose access.
Set a Strong Password:
Create a secure password to protect your wallet. Make sure it’s unique and not used elsewhere.

Step 3: Connect MetaMask to Chrome
Once installed, MetaMask integrates seamlessly with Chrome. You can now:
Access your wallet directly from the browser toolbar.
Connect to Ethereum-based dApps with a single click.
Manage multiple accounts and networks effortlessly.
Step 4: Using MetaMask for Transactions
Sending Crypto:
Click the “Send” button, enter the recipient’s address, and specify the amount. Review and confirm the transaction, then proceed to cover the associated gas fee.
Receiving Crypto:
Share your wallet address (found under your account name) with the sender.
Swapping Tokens:
Use MetaMask’s built-in swap feature to exchange tokens directly within the extension.
Step 5: Advanced Tips for MetaMask Users
Custom Networks: Add custom RPC networks to interact with other blockchains like Binance Smart Chain or Polygon.
Security Best Practices: Enable two-factor authentication (2FA) and never share your seed phrase.
Stay Updated: Regularly update the MetaMask extension to benefit from the latest features and security patches.
Why This MetaMask Extension Chrome Guide is Essential
With the rise of decentralized applications, having a reliable and secure wallet like MetaMask is crucial. By following this guide, you’ll be able to install, set up, and use the MetaMask extension on Chrome with confidence. Whether you’re a beginner or an experienced crypto enthusiast, this guide ensures you’re equipped to navigate the world of blockchain effortlessly.
Final Thoughts
The MetaMask Chrome extension is a powerful tool that bridges the gap between traditional browsers and the decentralized web. By following this step-by-step guide, you’ll be ready to explore the vast possibilities of blockchain technology. Don’t forget to bookmark this guide for future reference and share it with others looking to get started with MetaMask!


